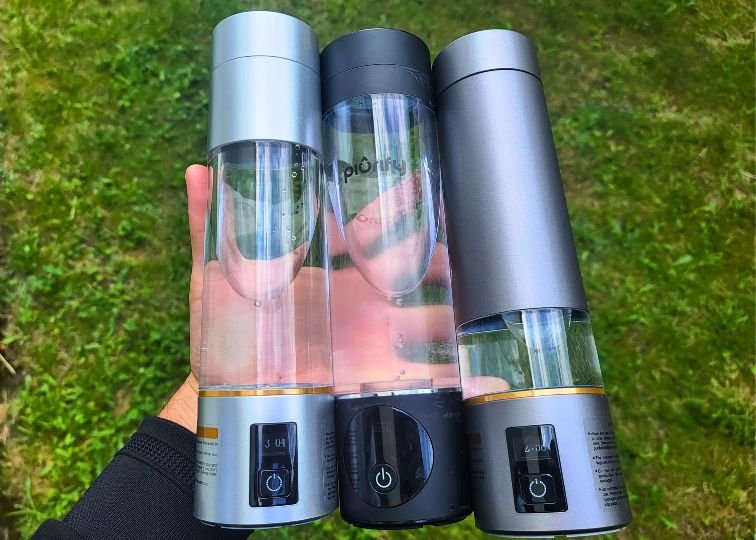
If you own at least one reusable plastic water bottle, you’ve probably noticed that cleaning it isn’t quite the same as dealing with stainless steel, glass, or silicone bottles.
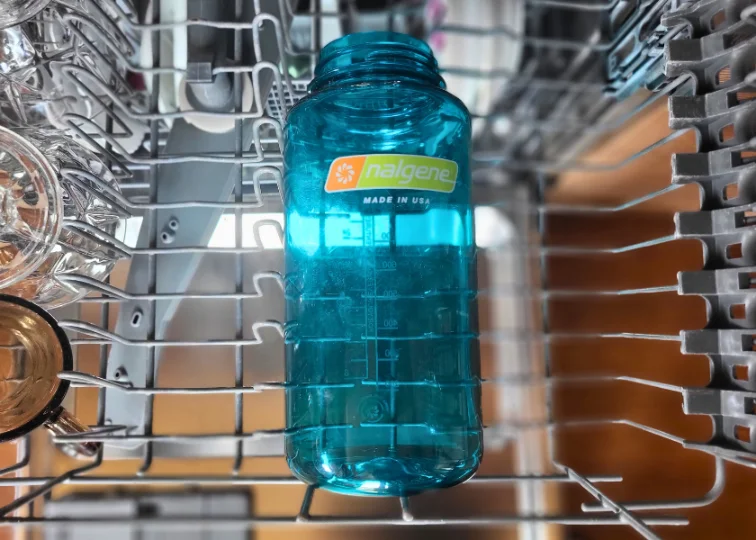
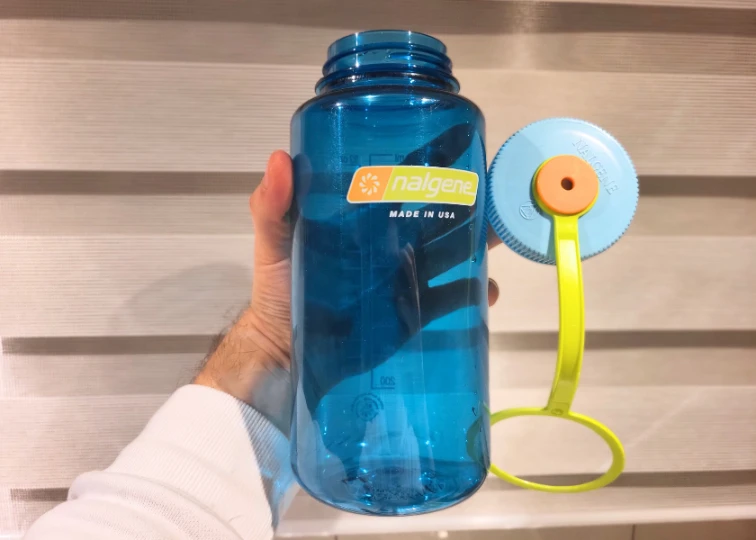
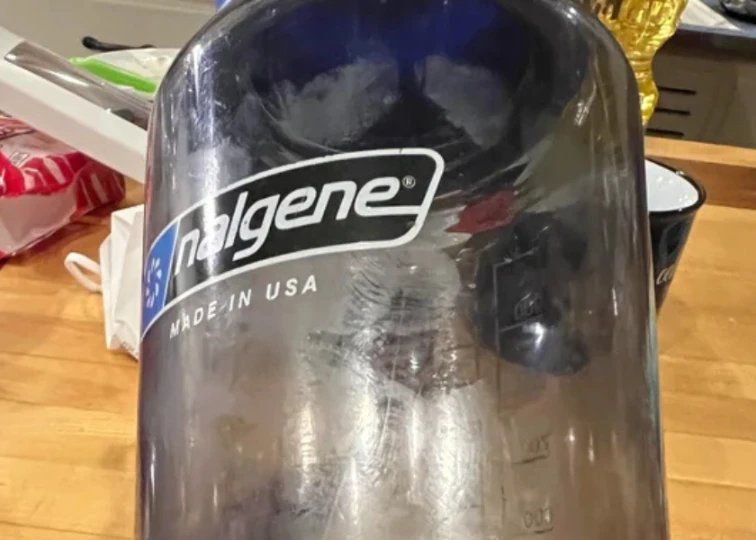
Take my Nalgene, for example. It’s my go-to for hiking, but if I didn’t clean it properly, let’s just say it wouldn’t be the refreshing sip of water I was hoping for.
That’s why this guide is all about plastic bottles. By the time you’re done reading, you’ll know exactly how to keep yours fresh and clean
Some of the links on this page are affiliate links. This means that if you click on one of the links and make a purchase, I may earn a small commission at no additional cost to you.
How Plastic Differs From Other Materials
Ever notice how your plastic water bottle seems to hold onto funky smells? Meanwhile, your stainless steel or glass bottle tend to stay fresh (more or less)?
That’s because plastic behaves a bit differently from other materials.
Plastic might feel smooth, but at a microscopic level, it’s actually a bit like a sponge, full of tiny pores that trap odors, flavors, and bacteria over time. This is why, no matter how much you scrub, your plastic bottle might still smell.
No worries though. I’ll explain how to deep clean your plastic bottle in a second.
Plastic is also softer than steel or glass, which means it’s more prone to those scratches and scuffs, especially if you use a rough sponge or put it in the dishwasher too often. These little scratches become hideouts for bacteria, making cleaning even harder.
That’s why I prefer using a soft bottle brush instead of an abrasive sponge to avoid scratching the inside of my plastic bottle.
Now that we know all this, we can get to cleaning!
Step #1: Gather Cleaning Supplies
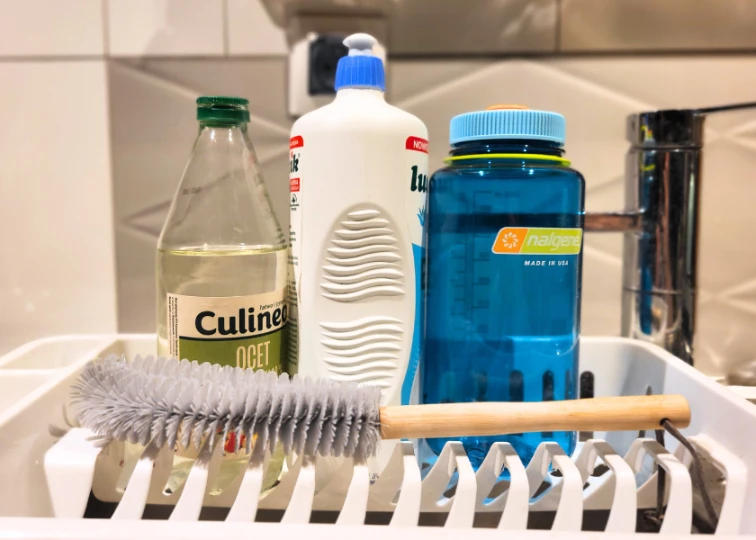
Before you get to scrubbing away yesterday’s hydration, you’ll want to gather your cleaning arsenal. You’ll need:
- Mild dish soap (fragrance-free soap is the best choice)
- Warm water
- Bottle brush or sponge
- Straw brush (optional but recommended)
- White vinegar (for deep cleaning)
- Drying rack or clean towel
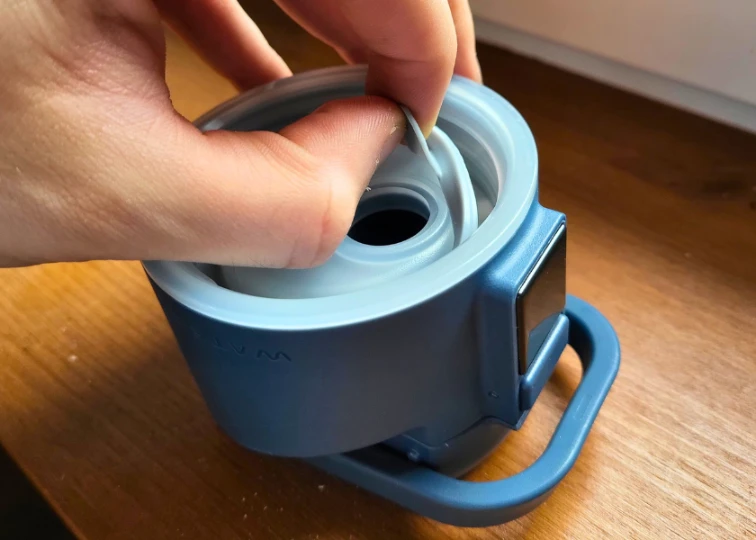
Step #2: Disassemble the Bottle
The most disgusting, germ-infested spots are usually the ones you can’t see. Imagine taking a shower but only washing your arms. You wouldn’t call that clean, right? The same goes for your water bottle.
Fortunately, my Nalgene bottle has only two parts: the bottle and the lid. But I have more complex plastic bottles in my collection with straws, straps, caps, clips and gaskets. You want to disassemble those parts.
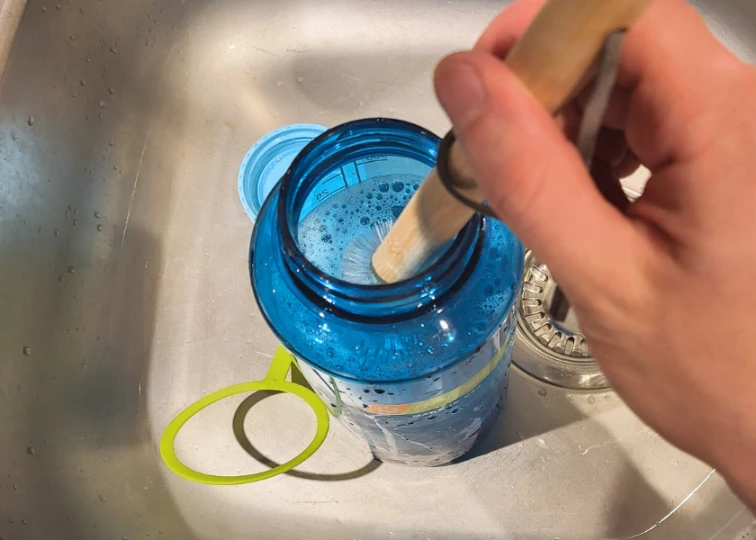
Step #3: Regular Bottle Cleaning
You’ve gathered your supplies and taken your bottle apart. Now it’s time for the actual cleaning. It’s very basic stuff, really. Think about this as cleaning your dishes.
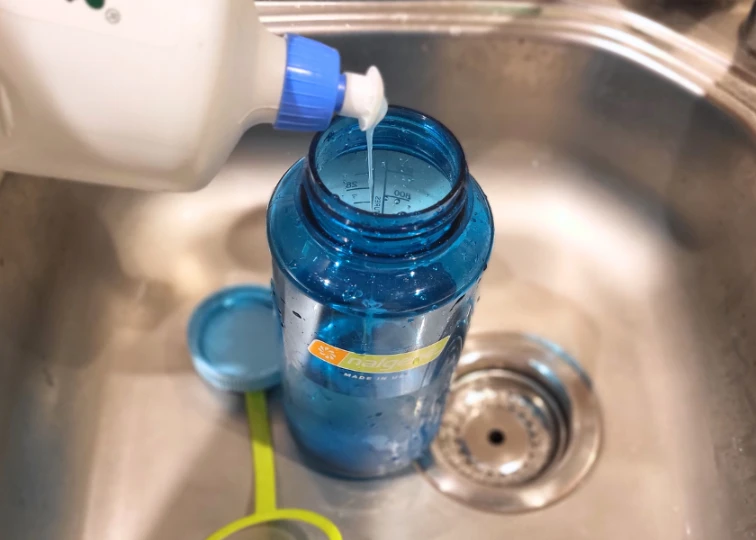
But you wouldn’t just rinse your dishes and call them clean, right? Your bottle needs a proper soap-and-water scrub every single day.
Start with a few drops of mild dish soap (fragrance-free is best). Next, fill the bottle halfway with warm water.
Now, grab a bottle brush and get scrubbing. Make sure to reach all the way to the bottom as that’s where the weird mystery gunk likes to hide.
No bottle brush? Fill the bottle with soapy water, slap the lid on, and give it a good shake. It’s not perfect, but it’s definitely better than nothing.
Finally, rinse everything thoroughly with warm water until every last bubble is gone.
And just like that, your bottle is actually clean, not just “looks clean”!
Step #4: Don’t Forget About the Lid
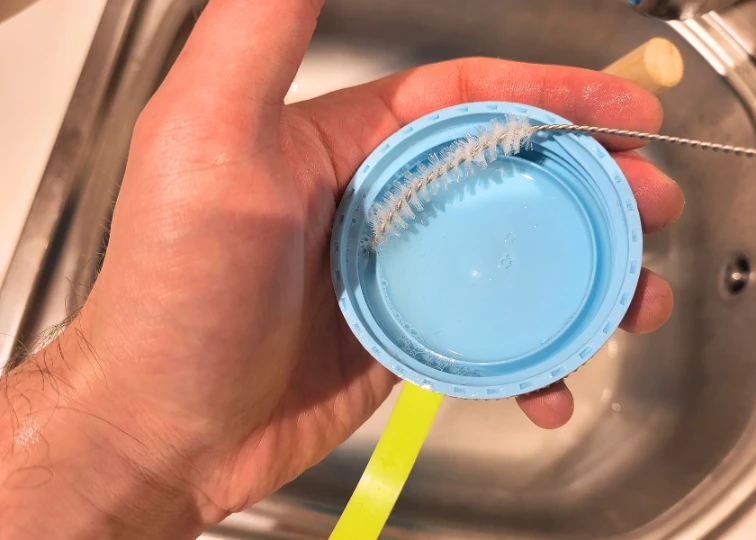
The lid is one of those things people forget to clean. Don’t be that person!
Cleaning it is super easy if you have the right tools like my favorite straw brush. There’s no better way to get to all hard to reach spots than this little marvel. If you don’t have a straw brush, it’s still possible to clean the lid nicely, but you may find it a bit more challenging.
Bacteria, mold, and dried saliva love to hide in all the little crevices in the lid. If you notice a weird smell or, worse, a funky taste coming from your lid, a big culprit is usually the gasket. That tiny rubber ring inside the lid.
If it’s removable and not glued in, pop it out for a proper wash. A butter knife or toothpick works if it’s being stubborn. If it’s stuck, just make sure you scrub around it really well. If your bottle doesn’t have any gasket (like my Nalgene), you don’t have to worry about that.
Also, you can’t forget the straw. Because it’s long and narrow, a quick rinse won’t cut it. If you actually want it clean, check out my guide on how to clean a straw properly.
Step #5: Drying Properly
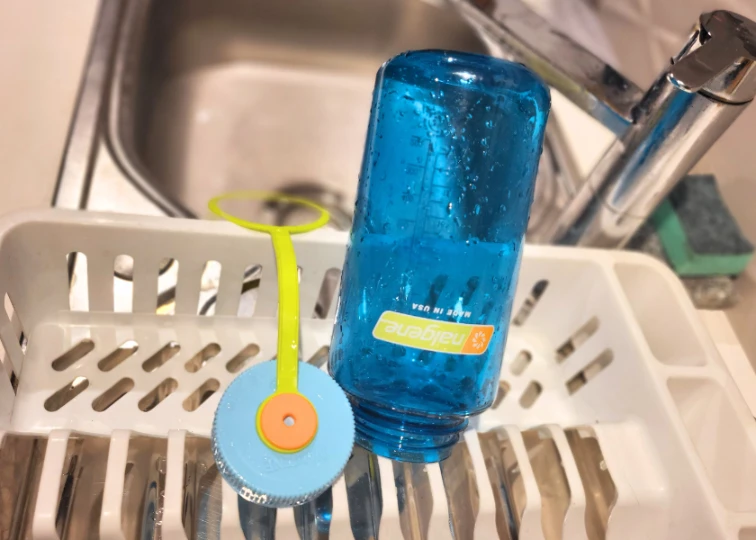
After rinsing, give your bottle a good shake to get rid of extra water. If you’re in a hurry, a few gentle taps on a towel can help speed up drying.
Don’t just stand your bottle upright on the counter because that traps moisture at the bottom. Instead:
- Flip it upside down on a drying rack or a clean towel.
- If possible, tilt it slightly against something so air can still circulate inside.
- Make sure the lid and all parts are drying separately. Don’t trap them inside the bottle.
How Do You Deep Clean a Plastic Water Bottle?
A deep clean for your reusable plastic water bottle is needed when you notice funky smells that regular cleaning can’t fix, stubborn cloudiness or stains, mold or black spots, or a film of residue on the inside that won’t come off with normal scrubbing.
It’s also important when you’ve been slacking on cleaning for a while, or if you’ve been using your bottle for thick drinks like smoothies or coffee that can leave behind oils and residue.
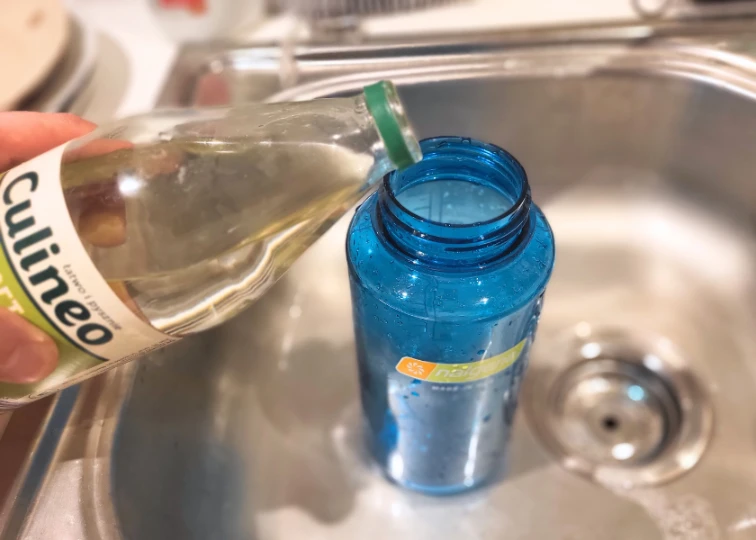
For deep cleaning, I love using vinegar. It’s natural, powerful, and gets rid of all stubborn gunk.
- Fill it with warm water: Get the bottle about halfway full of warm water—not too hot, just warm enough to help dissolve stuff.
- Add vinegar: Pour in about 1-2 tablespoons of white vinegar. Vinegar’s acidic powers will break down minerals, grime, and any lingering smells.
- Let it sit: Pop the cap back on (loose, not tight!) and let the mixture sit for 10-15 minutes. You can even give the bottle a little shake to help spread the solution. If your bottle if very dirty, you can even let it sit for a few hours.
- Scrub it: After it’s had time to soak, grab your bottle brush and scrub the inside. Make sure to focus on the bottom and those tricky spots like the neck, where gunk likes to hide.
- Don’t forget the lid and straw: Vinegar works on the lid and straw too! Take those off and soak them in the same vinegar solution. Use a small brush to clean out the hard-to-reach parts.
- Rinse well: Once you’ve scrubbed everything, rinse the bottle thoroughly with warm water to get rid of any vinegar residue.
- Air dry: Set the bottle upside down on a clean towel or drying rack. Let it air dry completely—don’t seal the bottle back up until it’s dry to prevent any mold or musty smells.
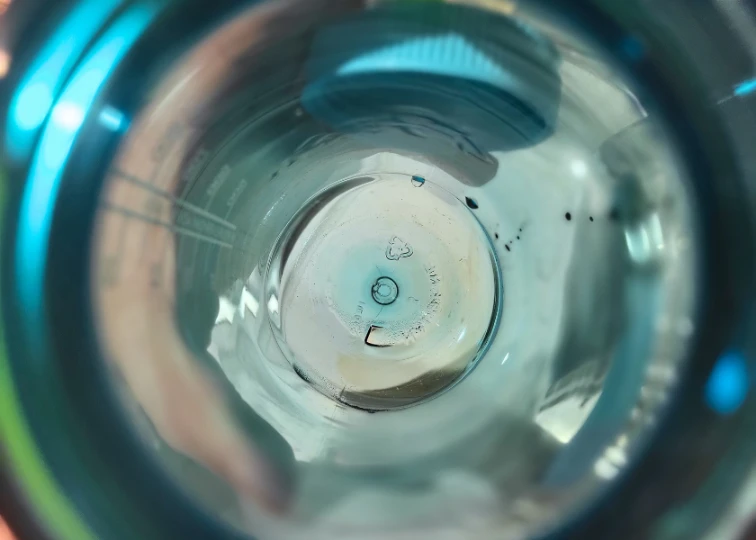
Why Do Plastic Water Bottles Get Cloudy?
Sometimes our once crystal-clear plastic water bottle starts looking like it just got back from a long hike through a dusty canyon.
Why does it happen?
It’s a combination of minerals, scratches, aging, and leftover residue, all working together giving your bottle that annoying cloudy, hazy look. It’s normal, it happens to all plastic bottles eventually.
If your bottle is looking cloudy, you might want to consider whether it’s just a cosmetic issue or a sign it’s time for an upgrade (or at least a deep clean).
How Do You Make a Plastic Water Bottle Clear Again?
To make a plastic water bottle clear again, you can use the same methods you’d use for deep cleaning, such as vinegar. In most cases, it should be enough to clear the bottle from that cloudy look.
If vinegar don’t work for you, you can try using denture tablets. It may sound weird, but denture tablets are amazing for cleaning
water bottles, not only plastic ones.
How to do it:
- Drop one or two denture tablets into your bottle.
- Fill with warm water and let it fizz for 30 minutes to an hour.
- Rinse thoroughly.
If you are going for this method, I recommend using The Efferdent Denture Cleanser Tablets you can find here.
Final Thoughts
Washing your plastic water bottle daily with soap, water, and a soft brush might seem like a small thing, but it saves you from dealing with gross buildup later.
Skip a few days, and suddenly, your bottle smells weird, looks cloudy, and might even have some mystery gunk lurking inside.
Make it part of your routine, and you’ll never have to worry about that. And every week or two, give it a deep clean with white vinegar to keep things extra fresh. A little maintenance now beats scrubbing mold out later.

Jeremiah Kowalski
Jeremiah Kowalski is a drinkware product researcher who has personally tested 50+ reusable water bottles, tumblers, mugs, and filtration systems from leading brands. He focuses on real-world performance, durability, and safety to help readers choose drinkware that actually fits their daily hydration needs.