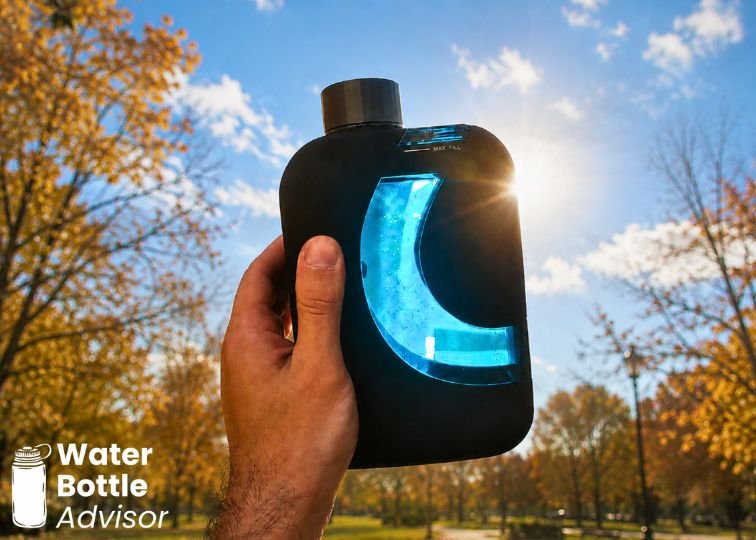
If you’ve just bought a hydrogen water bottle, you’re probably wondering if you’re using it the right way. While the best hydrogen water bottles are very simple to use, small details like the type of water you use or when you drink it can make a difference in how well they work.
In this guide, I’ll walk you through exactly how to use a hydrogen water bottle properly, step by step, along with a few common mistakes to avoid so you can actually get the most out of it.
How to Use a Hydrogen Water Bottle (Step-by-Step)
When you’re spending $100+ on something like this, using it properly matters a lot more than with a regular bottle. Stick to these steps, and your bottle should last for years, not just weeks.
Step 1: Remove the moisturizing plug/cap
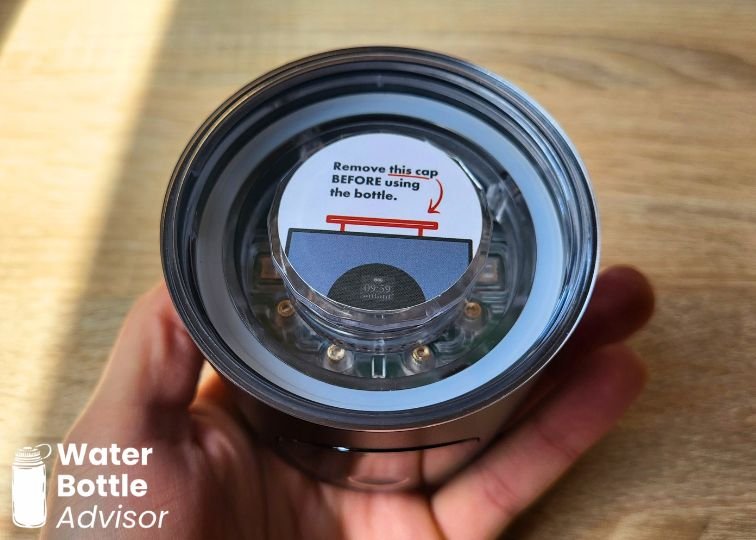
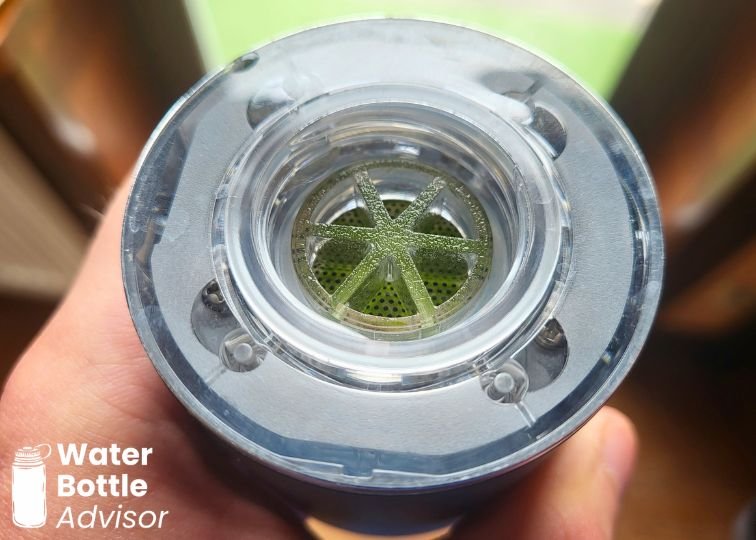
Most hydrogen water bottles arrive with either a moisturizing plug inside or a small amount of distilled water. This is completely normal – it’s there to protect the internal components, especially the delicate membrane, during storage and shipping.
I’ve seen people leave negative reviews thinking they received a used product, but in reality, this just means the bottle is brand new and properly protected.
So your first step is simple: remove the plug (if present) and pour out any water inside before using the bottle for the first time.
Step 2: Fill with clean water
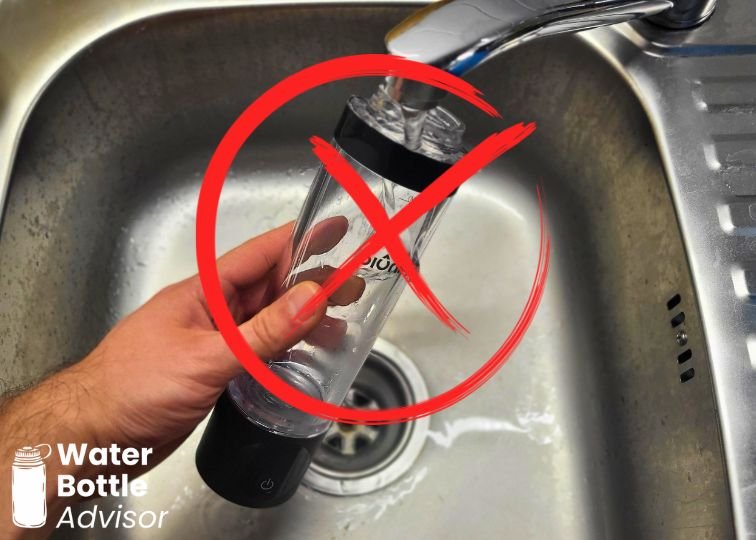
Next, fill your bottle with water, but not just any water. The type of water you use has a direct impact on how well your hydrogen bottle performs.
Tap water is not the best choice. In many areas it contains higher levels of minerals like calcium and magnesium and these can build up on the internal components and reduce efficiency over time.
The sweet spot is filtered or purified water, because it removes excess contaminants while still keeping enough minerals for the process to work effectively.
Step 3: Close the lid properly
This is a small detail, but I’ve caught myself skipping it more than once.
Hydrogen molecules are extremely small and escape quickly, so if the bottle isn’t sealed properly, you’ll lose a good portion of the hydrogen during the cycle. In other words, running electrolysis with a loose lid defeats the whole purpose.
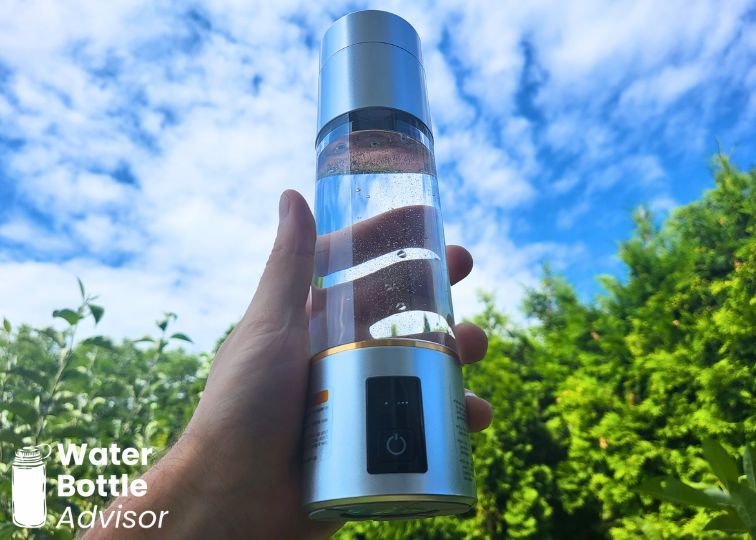
Step 4: Start the electrolysis process
Once everything is set up correctly, you can start the electrolysis process – the step where your bottle actually generates hydrogen. It’s a fascinating process that you can read more about in my guide on how the hydrogen water bottle works.
Most bottles offer two modes:
- a short cycle (usually a few minutes) that produces a moderate amount of hydrogen
- a long cycle (often 10+ minutes) that maximizes hydrogen concentration
It might be tempting to always go for the longer cycle, but in practice, I use the shorter one quite often. Waiting 10 minutes every time can get annoying, and for everyday use, the shorter cycle is usually more than enough.
As for operation, it’s very straightforward. Most bottles use a single-button system:
- press once to start
- press again (or hold) to switch modes
Some models have touchscreens, but the idea is the same.
I know some people hesitate to buy hydrogen bottles because they seem “too technical”, but in reality, it’s about as simple as it gets. For example, in my bottle from Piurify, I press the button once to start, press it again if I want a longer cycle, and that’s it. The bottle automatically shuts off when the process is finished.

Step 5: Wait for the cycle to finish
Once the cycle starts, you’ll need to give it a few minutes to complete. If you’re using the longer mode, this can feel a bit slow, so what I usually do is start the process and go do something else in the meantime.
That said, timing matters. Hydrogen doesn’t stay in the water for long, so you don’t want to forget about it and come back much later.
A simple trick that works for me: set a timer on your phone for the duration of the cycle. That way, you come back right when it’s ready, without losing any of the benefits.
Step 6: Drink immediately
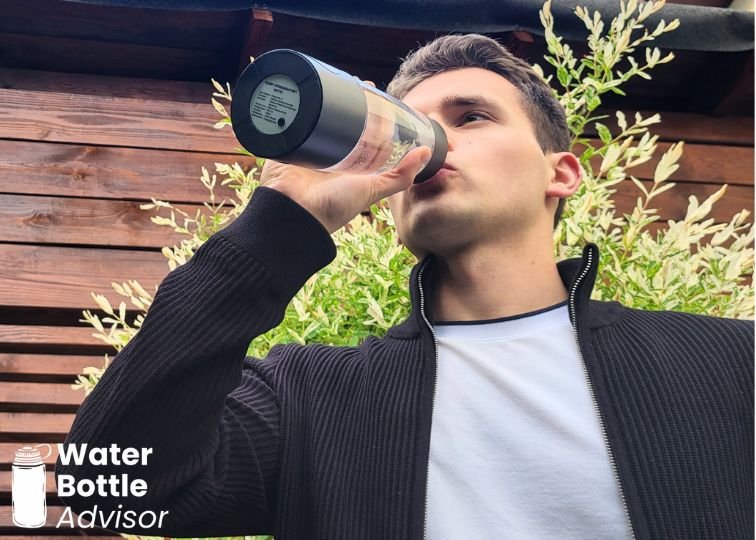
Once the cycle is finished, it’s best to drink the water fairly quickly.
The reason is simple: dissolved hydrogen is a small, unstable gas, and it gradually escapes from the water into the air after production stops.
You don’t need to panic-drink it within seconds, but the general rule is: the sooner, the better. Ideally, you should drink it within a few minutes of finishing the cycle to get the full effect.
Step 7: Charge it
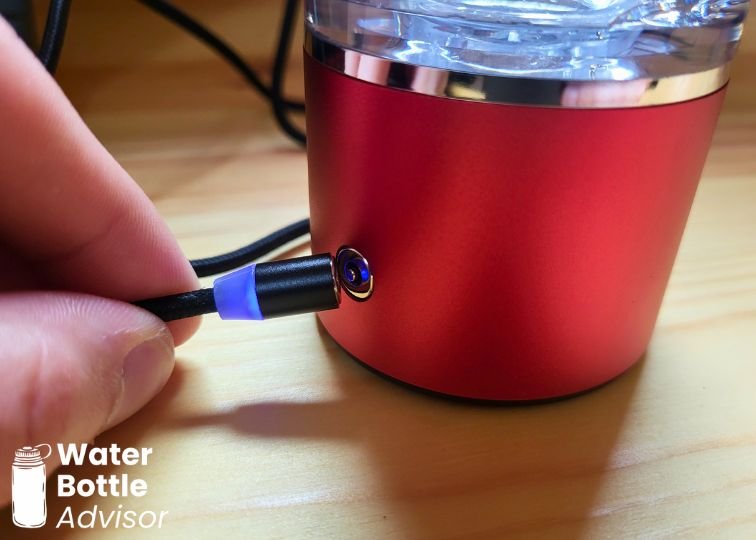
Most hydrogen water bottles can last for around 10+ cycles on a single charge, depending on the model. Still, I recommend not waiting for the battery to fully drain. Instead, it’s better to recharge it every few uses so the bottle is always ready when you need it.
The battery is one of the most overlooked parts of a hydrogen water bottle. Most people focus on hydrogen output or design, but a weak or short-lasting battery can completely ruin the experience. Having to charge the bottle after almost every use gets old very quickly and defeats the convenience factor.
I go into more details about the battery in my guide on how to choose a hydrogen water bottle.
Step 8: Clean the bottle
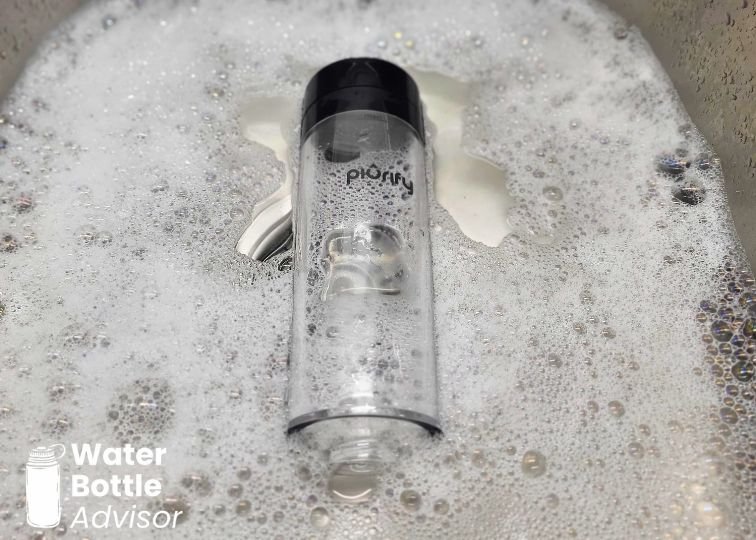
Since you’re only using a hydrogen bottle with water, it’s easy to assume it doesn’t need regular cleaning. And while daily cleaning isn’t necessary, it’s still important to maintain it properly.
I recommend cleaning your bottle at least once a week, focusing especially on the mouthpiece and drinking area. From time to time, it’s also worth gently cleaning the membrane area using a mild vinegar solution to remove any mineral buildup that could affect performance.
For a more detailed breakdown, I’ve written a separate guide on how I clean my hydrogen water bottles.
Step 9: Store it properly
Storing your hydrogen bottle is just as important as how you use it. It’s not something you should simply rinse and leave in a cabinet until next time. There are delicate internal components that need a bit of care.
One key rule is to avoid letting the membrane dry out. Most manufacturers recommend keeping a small amount of clean or purified water inside the bottle when it’s not in use, especially if you’re leaving it for more than a day.
Another thing worth keeping in mind is the storage environment. Extremely hot or dry places (like a sunny car or near a heater) can speed up evaporation and stress the internal seals, so a cool, shaded place is always the safest option.
Common Mistakes to Avoid
In addition to the mistakes I’ve already mentioned – like using the wrong type of water, waiting too long to drink it, not sealing the bottle properly, or neglecting cleaning and storage – there are a few more issues I’ve personally made and also seen other users run into when using hydrogen bottles.
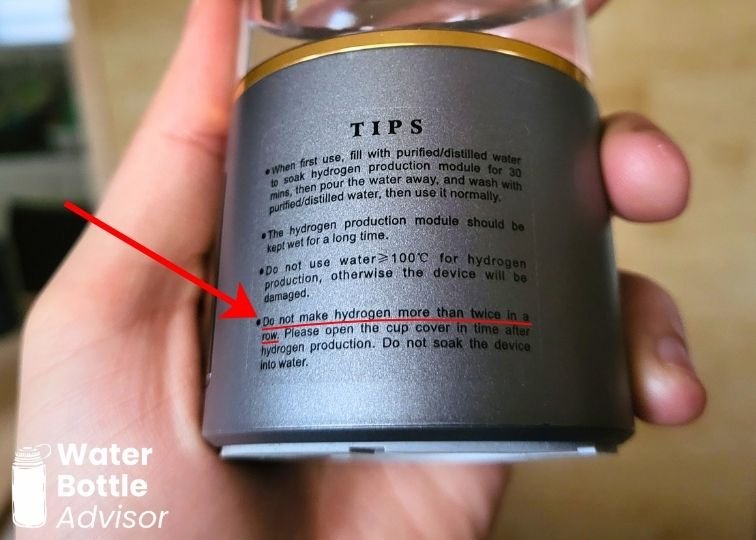
1. Running too many cycles back-to-back
A common assumption is that if one cycle produces, for example, 3000 ppb of hydrogen, then running a second cycle immediately will simply double the concentration. In reality, it doesn’t work that way, at least not in most hydrogen bottles I’ve used so far.
Hydrogen begins dissipating as soon as the cycle ends, so by the time a second cycle finishes, much of the hydrogen from the first one may already be gone. On top of that, repeated back-to-back cycles can increase heat stress on the device, which may shorten the lifespan of the internal components over time.
However, there are some exceptions where back-to-back cycles are actually supported. For example, my Piurify bottle allows up to three consecutive 10-minute cycles to increase hydrogen concentration.
That said, this isn’t a universal rule, so always check your specific model’s instructions before doing multiple cycles in a row.
2. Adding ice or anything other than water
Hydrogen bottles are designed for water only. Adding ice or other substances might seem harmless, but it can interfere with proper electrolysis.
Ice can disrupt the process and affect how evenly hydrogen is generated, while additives like lemon, electrolytes, or flavored powders can damage the electrodes and reduce long-term performance.
If you want consistent results, plain filtered water is always the safest choice.
3. Using the bottle while charging (when not supported)
Another mistake is operating the bottle while it’s plugged in. While some models are designed to handle this, many are not.
Using the device during charging can reduce battery lifespan and, in lower-quality models, may even introduce safety risks. That’s why it’s always important to follow the manufacturer’s instructions and avoid assuming all hydrogen bottles work the same way.
Final Thoughts
When I first got into hydrogen water bottles, I thought it would be one of those “fill it, press a button, done” kind of devices. And technically, it is. But after using them for a while, I realized the small details actually matter more than I expected.
Things like the type of water you use, how quickly you drink it, or even how you store the bottle can quietly change the whole experience. None of it is complicated, but it does make a difference if you want consistent results instead of just treating it like a regular water bottle.
The bottle does the work, but how you use it determines your experience.

Jeremiah Kowalski
Jeremiah Kowalski is a drinkware product researcher who has personally tested 50+ reusable water bottles, tumblers, mugs, and filtration systems from leading brands. He focuses on real-world performance, durability, and safety to help readers choose drinkware that actually fits their daily hydration needs.